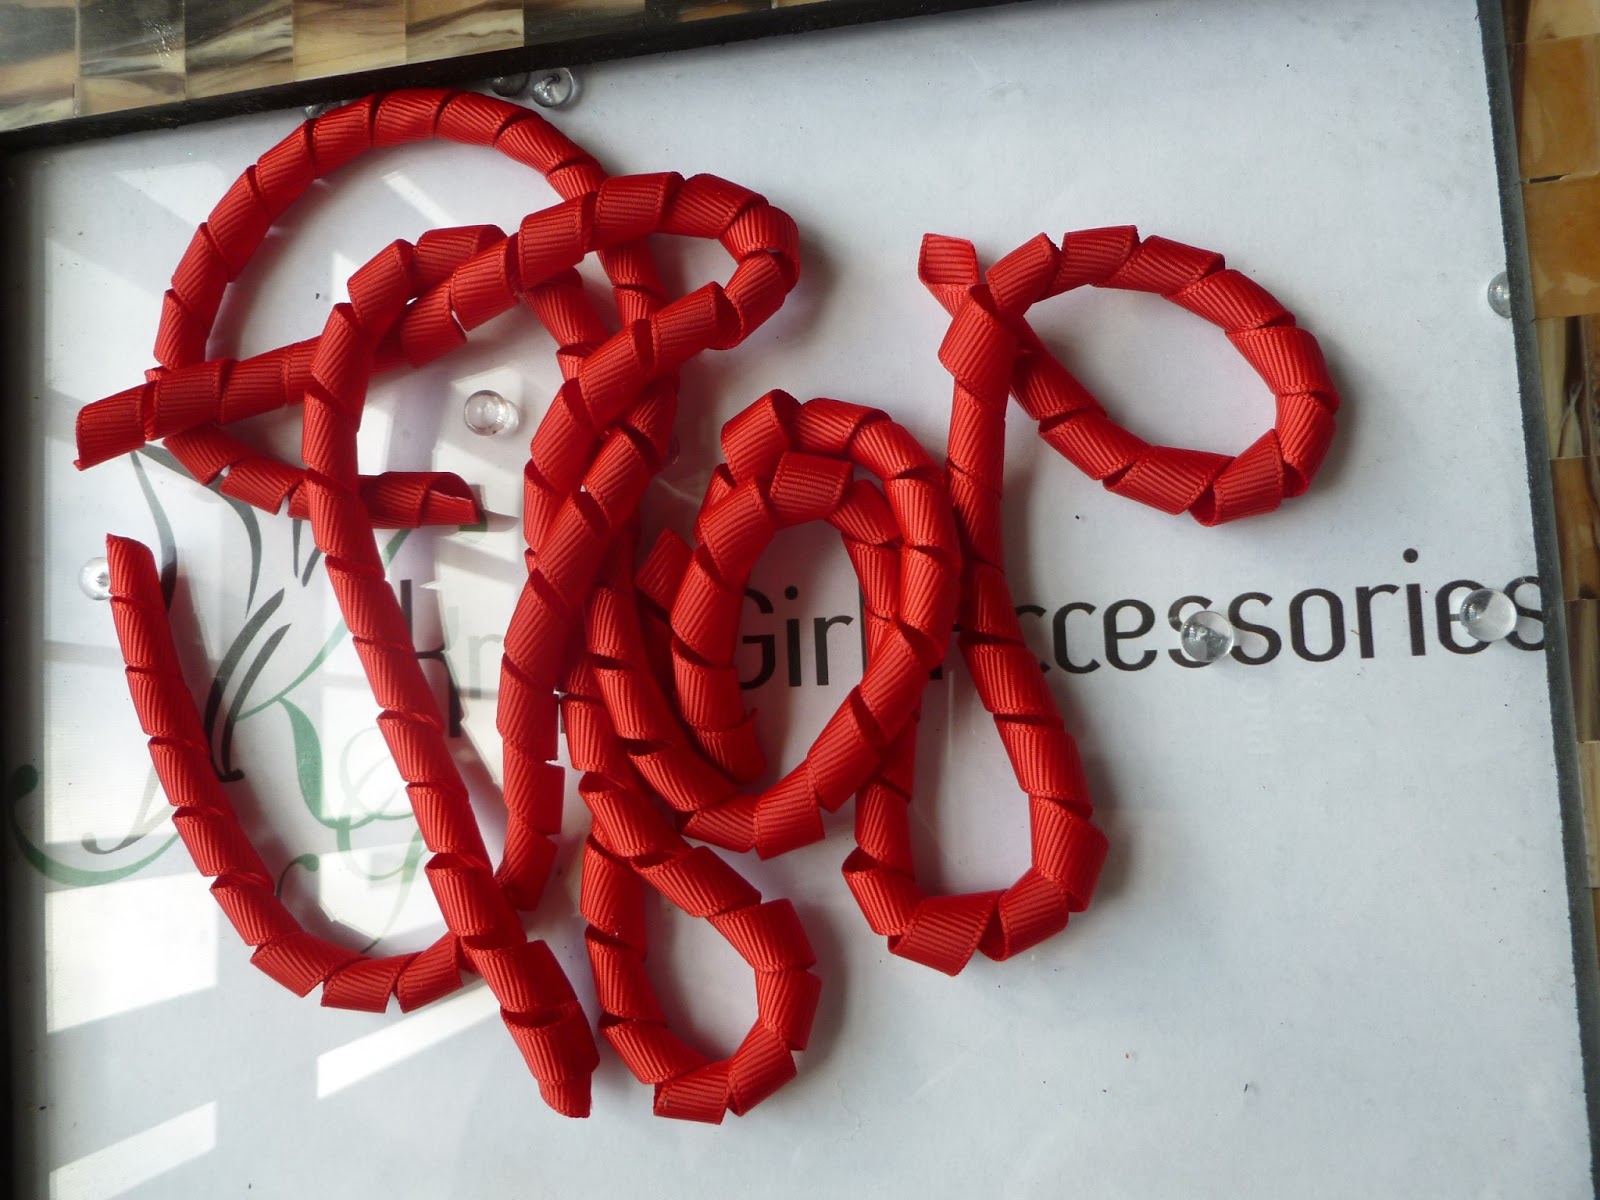
What you will need:
-Curled Ribbon (3/8" for this tutorial, but you may use smaller/larger. See Curled Ribbon tutorial if needed)
-Measuring Tape
-Needle and High Quality Thread (some people use embroidery floss, whatever works for you)
-Clip & Hot Glue
-Lighter (or other means to seal edges)
1} Choose your color(s) ribbon that you will be using and cut to size. {At this point you can heat seal your ends or you can wait until your bow is finished. I like to heat seal now. Heat sealing prevents fraying. To do this, lightly run the cut edge of your ribbon close to a flame {Not too close
 or your ribbon may burn.} If you want a small puffy korker you can cut your ribbon pieces to about 2" each, for a larger bow your pieces can be longer. The more pieces of ribbon you use the more full your bow will be.
2} Put your ribbon together. I arrange my ribbon in the order I want then thread them through the center, one on top of the other, until all ribbon is used. Once I have used all of my ribbon, I pull my thread all the way through. I then like to push the needle back through my ribbon and tie a knot at the same spot I started. For me, this gives the bow extra strength and hold, I know that it is not going to coming apart. I then like to dab a little hot glue onto my knot, this helps me to feel like the thread is "sealed". By no means is this the tride and true way, or the only way to make a korker. I have seen people make them several different ways using different materials. This is what is most comfortable for me and gets me the results that I want. I encourage you to find what works best with you, gets you good results, and go with that.


3} Choose you clip type. If you are going to use a french barrette you can simply glue it to the underside of the bow. If you are going to use an alligator clip you will need to line the clip first, then glue to bow. You can also attach these to ponytails holders and snap clips. There are many different things you can do with korkers, you can even add embellishments to the center.
4} Fluff and arrange your bow to achieve your desired look. Once finished you may want to starch your bow using spray starch (the same as you would use when ironing- who does that?!? not me; anyway, just spray the starch on and allow to air dry) to guarantee that your bow keeps the curl and shape that you want.
* Below I have included some other ideas/versions of korkers that I have made.
I hope this has been helpful! Happy Making!


Visit my Etsy shop to see more: