
What you will need:
-Small wooden dowels (I use 1/4" dowels, but you can use a smaller or larger size depending on the look you are going for)
-Clothes Pins (any size will do)
-Spray bottle with water
-Ribbon (Solid/Non printed, Grosgrain 100% Polyester, 3/8" ribbon works best; other ribbons may melt, burn and/or ignite in the oven)

 1} Preheat your oven to 225 degrees.
2} Wrap your ribbon in a single layer around your wooden dowel and secure ends with clothes pin.
3} Using the spray bottle, generously spray the water over ribbon and clothespins. If you don't have a spray bottle handy, you can use the spray nozzle on your faucet.
4} Put ribbon on clean cookie sheet or line your oven rack with foil and place directly on the rack.

6} When ribbon is cool to touch, gently unwrap from dowel. And there you have it, curled ribbon!
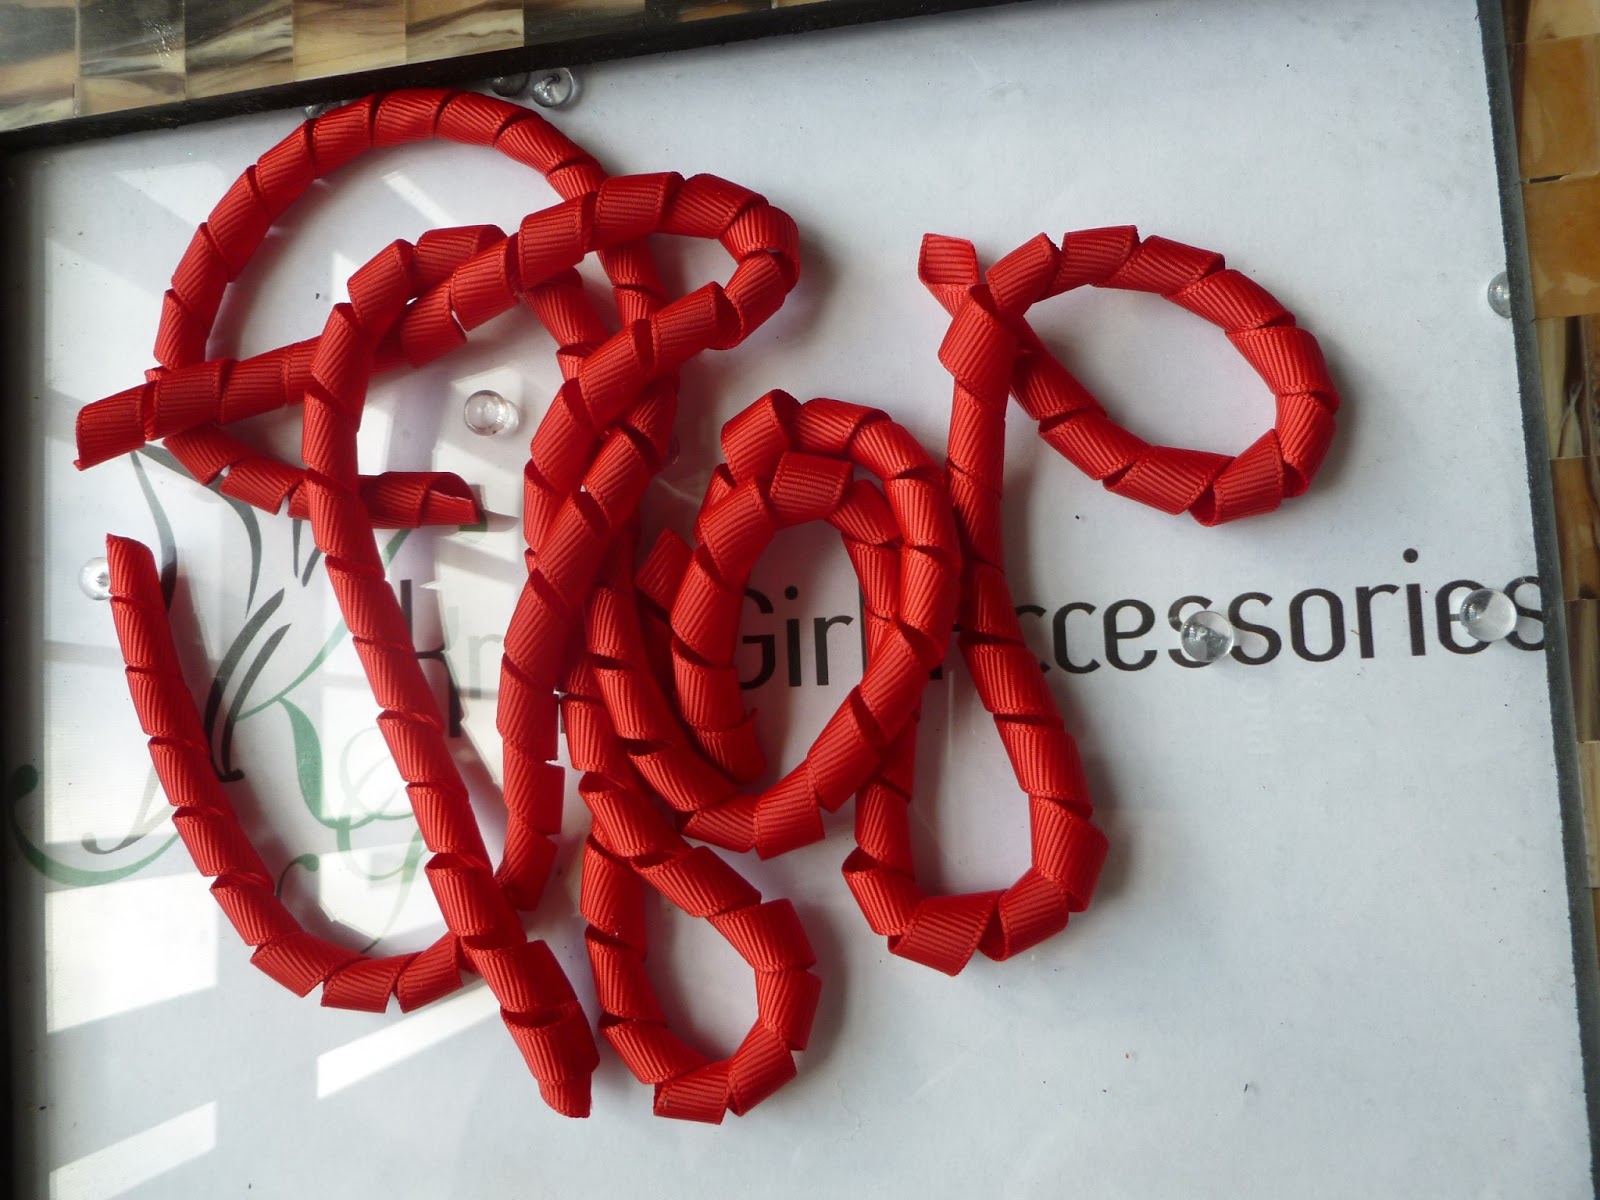
(*Note: You can use spray starch (like what you would use on a shirt you are ironing) on your ribbon pieces to ensure they keep their shape, this is especially useful when making korker hair bows. You can also starch the whole bow when it is fully made. Simply lay bow or bow pieces onto foil or paper towels, spray with starch, and leave to air dry. When fully dry ribbon pieces, or bow, will be more stiff and will hold shape very well and after many uses.)
